Week 6: 3D Printing
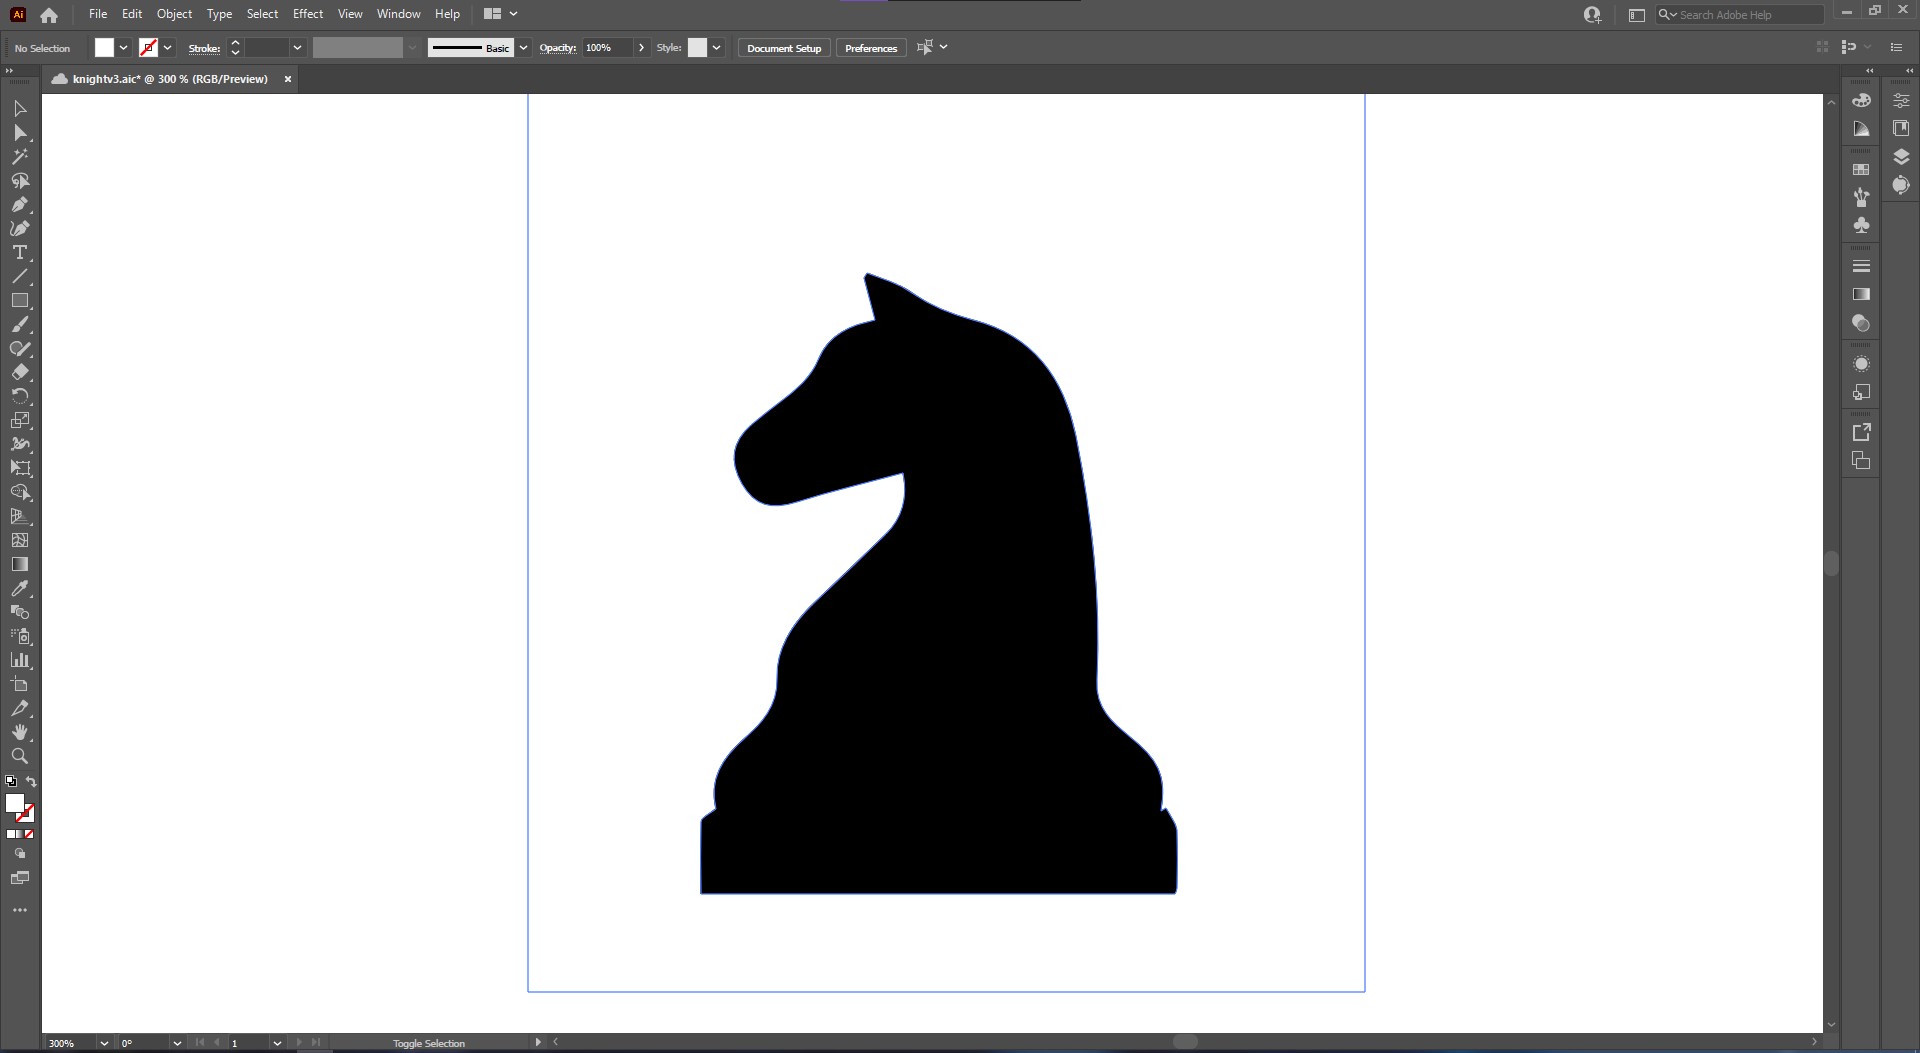
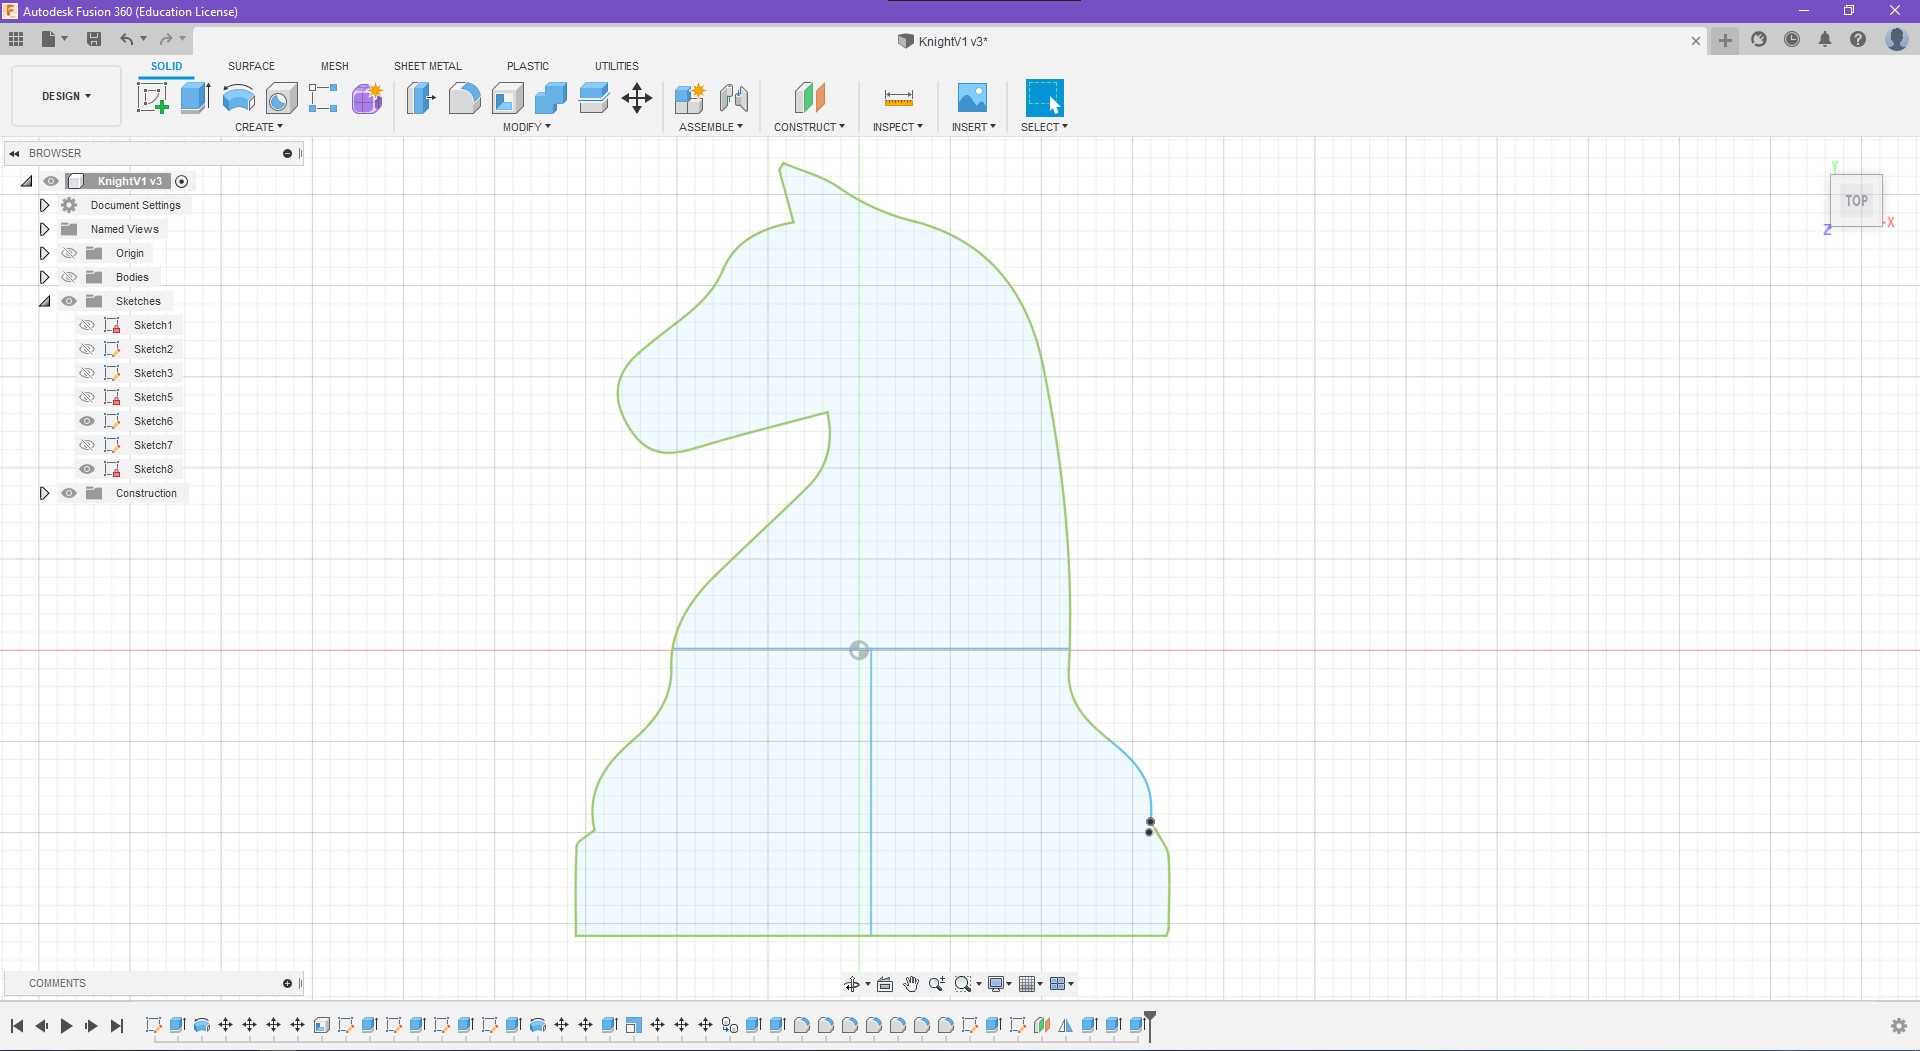
I started the modelling of the chess piece by exporting a vector outline trace of a knight chess silhouette into Fusion 360. I sketeched a horiziontal line to split the horse and the base. The horse would then be extruded. As for the base, I sketched a line down the middle so that I could revolve the base
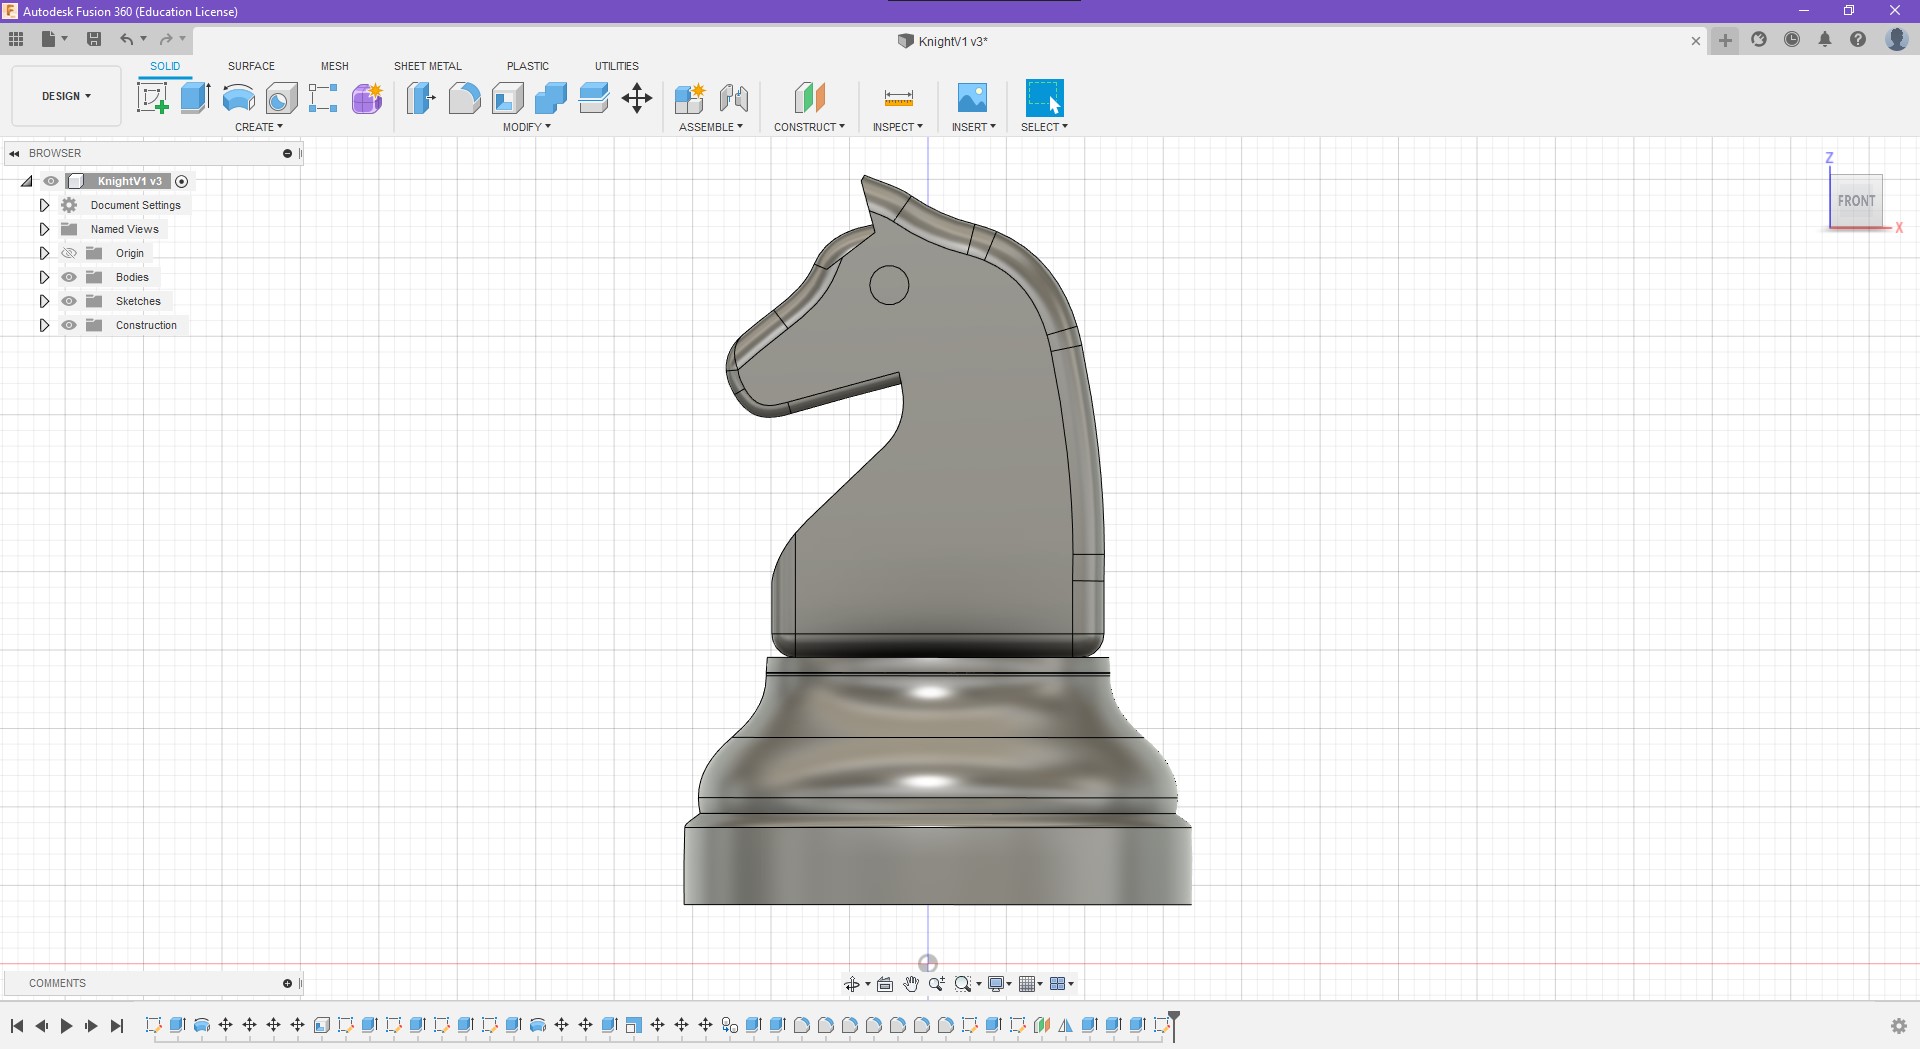
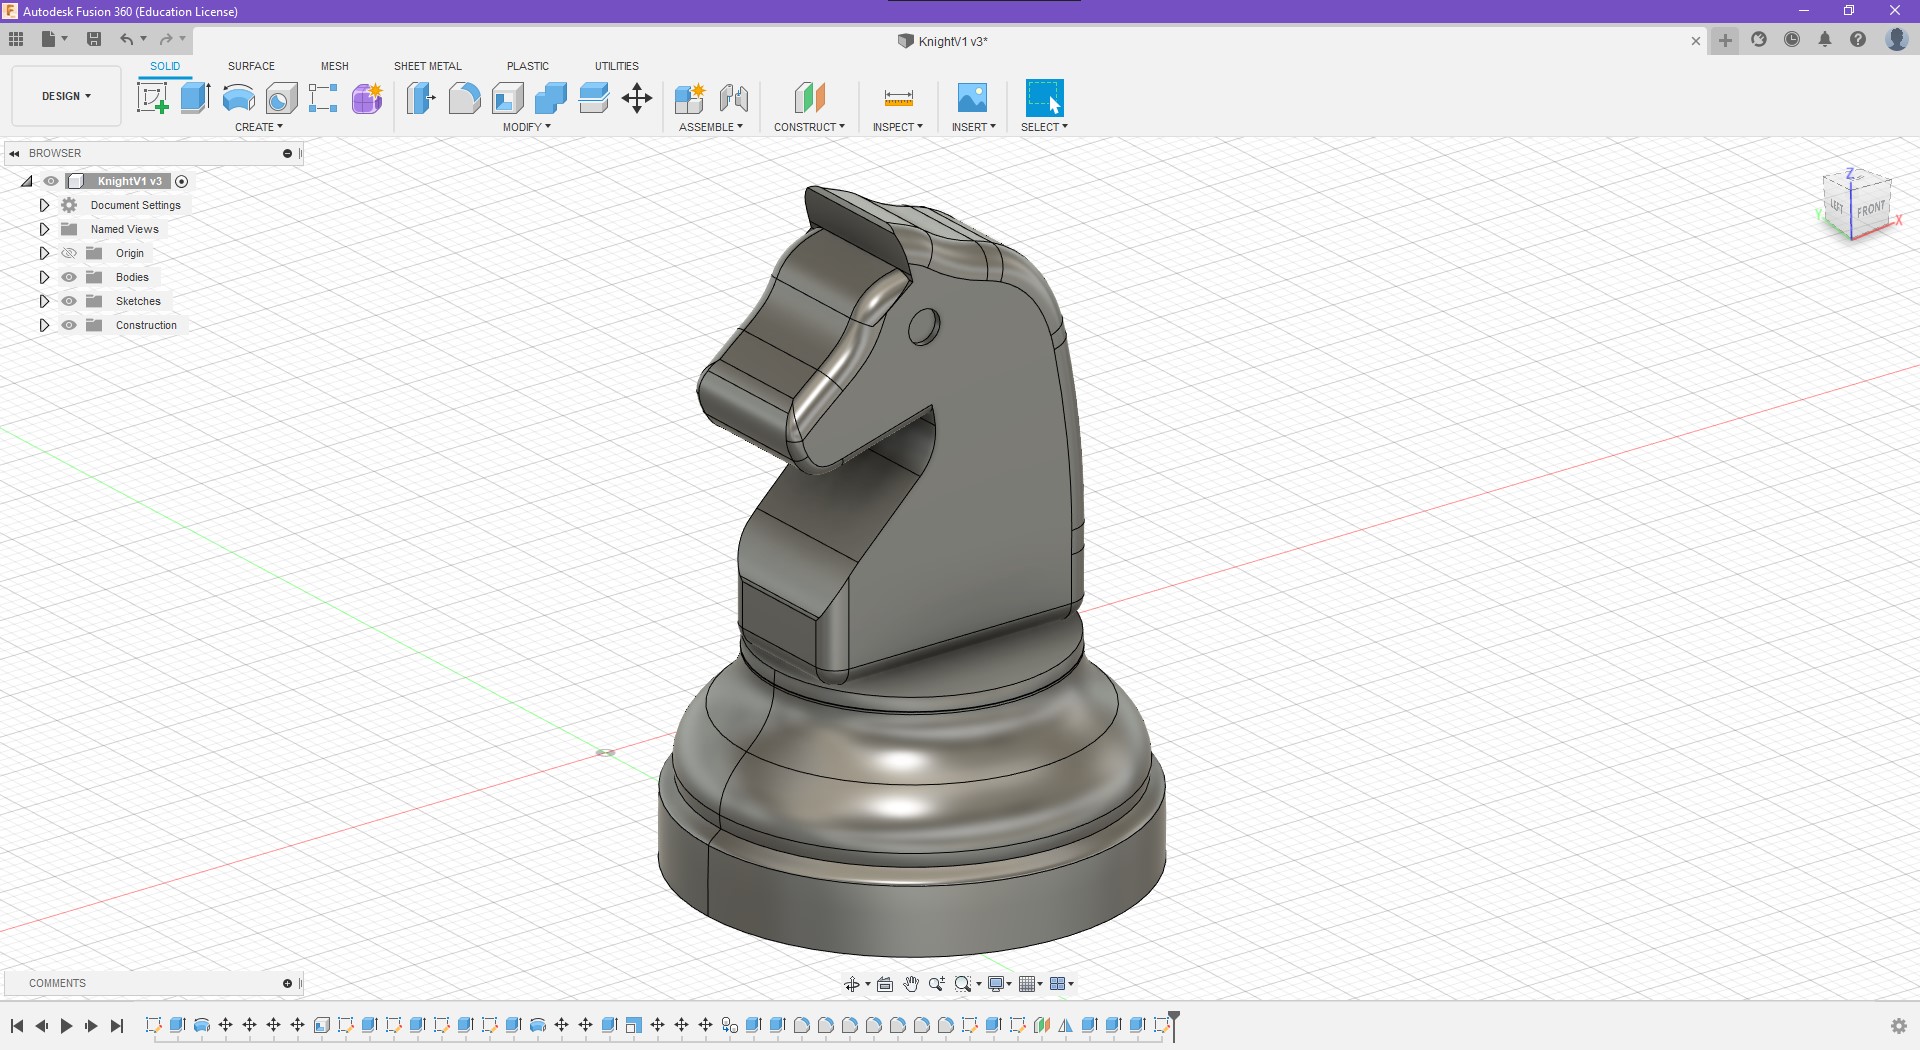
I also fillet all the sharp edges to give it a more natural look to the horse. Then, I extruded an eye for the horse.
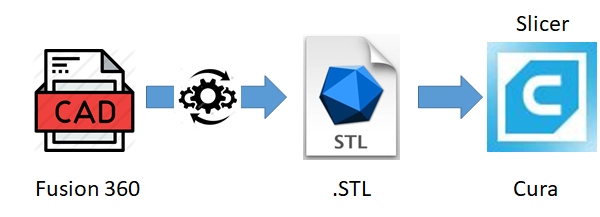
I then exported the file to stl where it can be sliced to cura
3D print settings
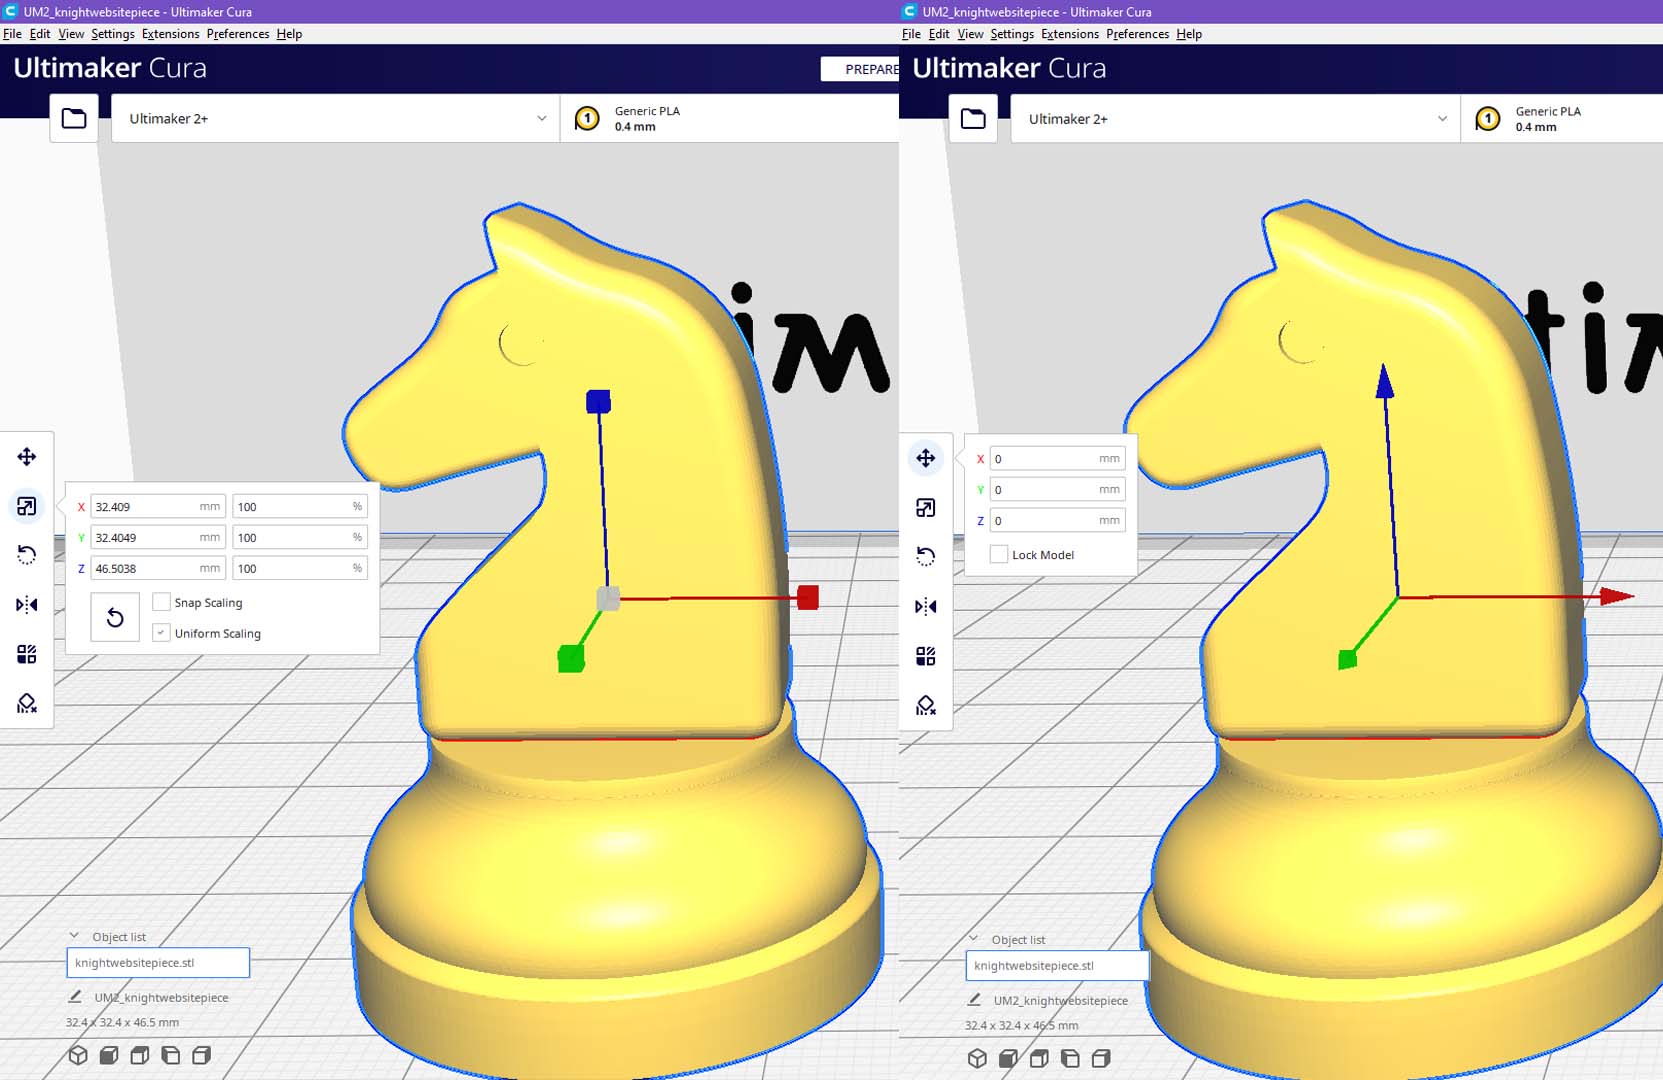
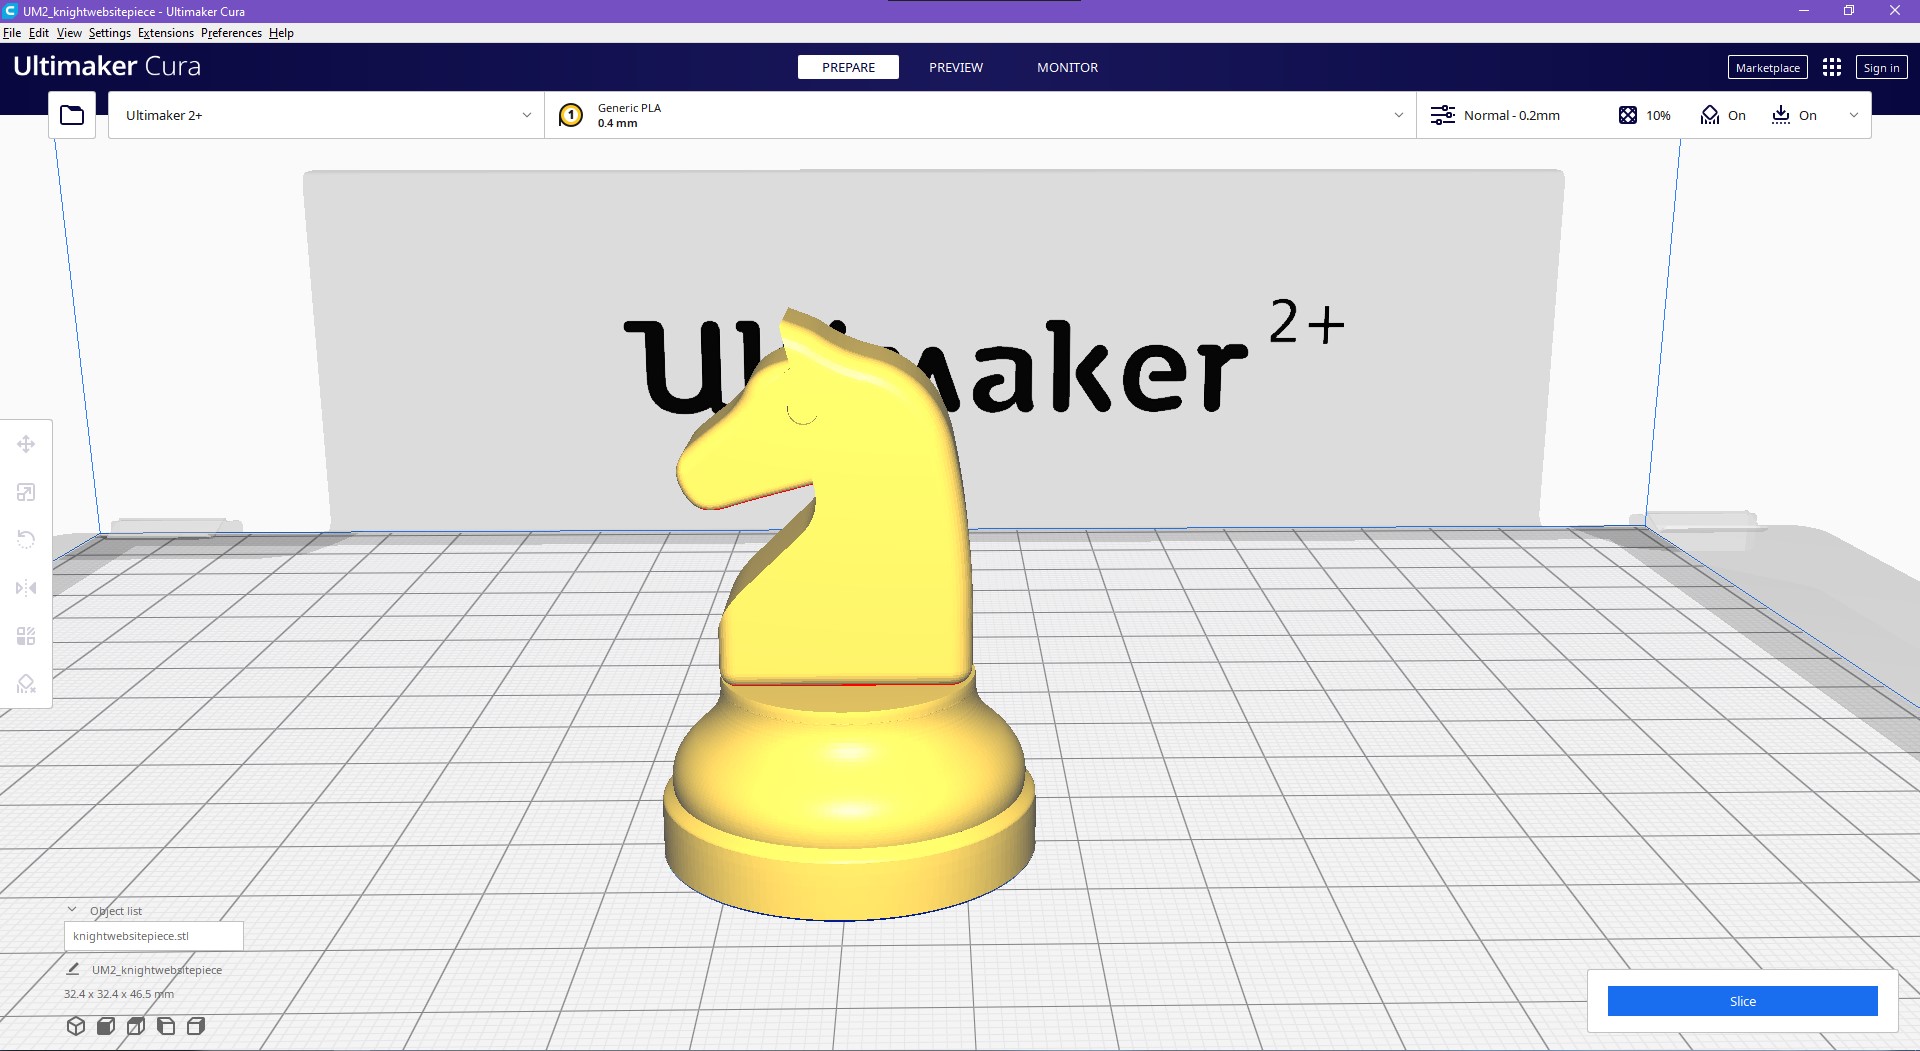
When first opening the stl file, the print can be rotated as well as rescaled to be larger or smaller.
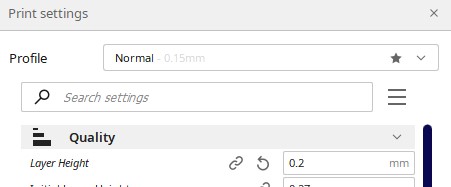

The first and most important print setting is layer height which determines the amount of detail in the print. The higher the value is, the poorer the quality but it takes a significantly lower time.I decided on 0.2 layer height.
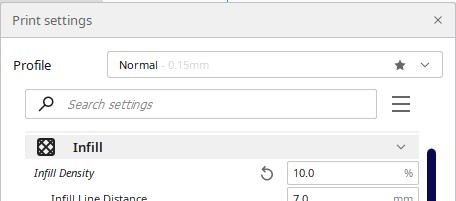
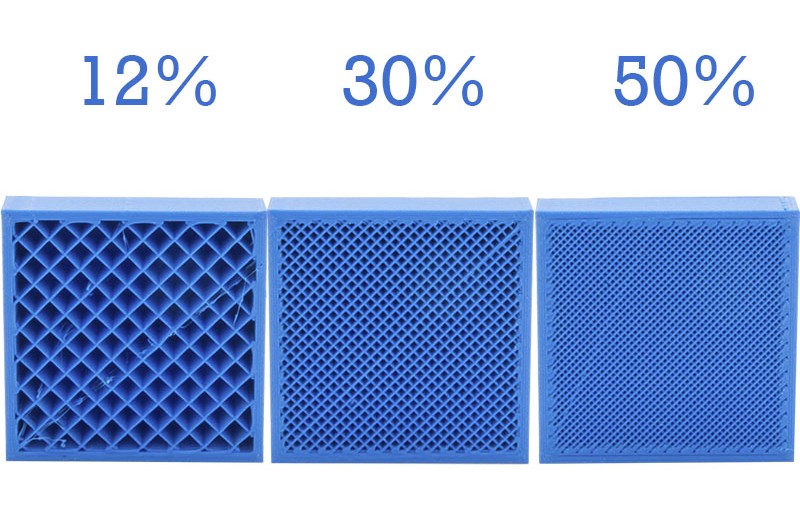
The second print setting is infill which determines how hollow the print would be. It also determines the strength. Since the chess piece is relatively small, and does not require alot of strength, I chose 10% infill.
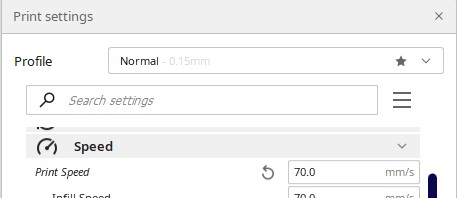
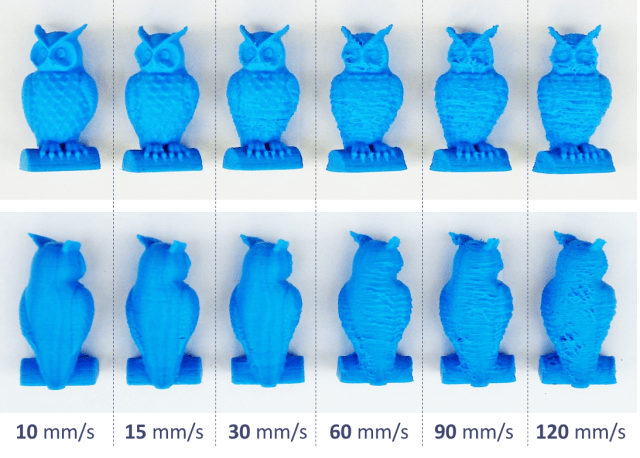
The third print setting is speed, which determines how fast the print would take. A faster print speed would make the print time shorter, but it gives less time for each layer to cool risking the print to mess up. A good speed would be around 50mm/s to 80mm/s. I decided to go with 70mm/s
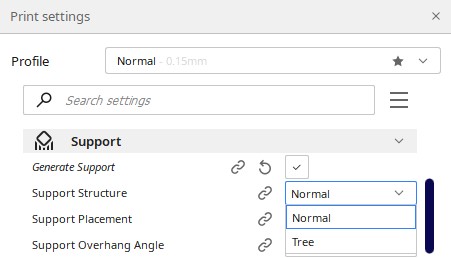
The fourth print setting is support, which is used for overhangs. There are two types of supports, normal which is uniform and attaches to parts of the print, and tree which only supports the overhangs without touching the other parts of the model. Since the chin of the horse an overhang, I used a normal support

The last print setting is build plate adhesion, which is used to stick the model firmly to the print surface. It really helps if the build surface is not perfrectly leveled.

After applying all the settings, this is how the print looks like in the preview, with a total time of 33 minutes
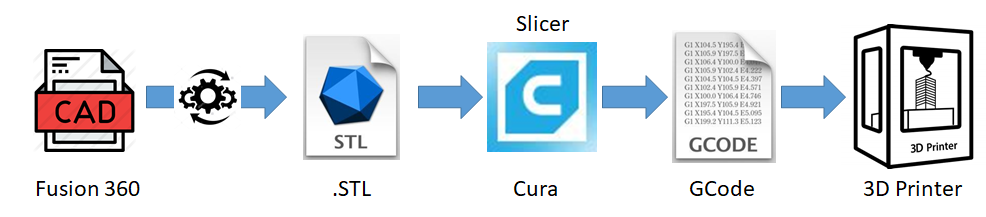
Finally I saved the print to gcode, so that the printer can read the file, onto a micro sd card and sent it to the printer
This is how the print came out, overall fun experience :)